
What is NativeScript? NativeScript is an open source framework for creating native mobile apps for iOS and Android. It allows web developers to use their web technology expertise to access native device APIs, hardware, and UI controls that deliver performant and elegant mobile experiences. So yes - if you’re a web developer and want to build your first mobile app, you’re in exactly the right place.
So let’s move on and understand what this “NativeScript” thing is all about. First, NativeScript comes in 3 flavors: JavaScript, Angular, and Vue.
Table of contents
In this demo we’re going to use Angular, but you’re able to choose Vue or JavaScript after this post if you feel like trying another flavor. Learning is always fun!
As a side note, to get started quickly in NativeScript, I’d recommend you use the brilliant NativeScript Playground, a web editor that lets you load a NativeScript application on your device almost immediately.
For this learning exercise we’re going to use the NativeScript CLI alongside VSCode to demonstrate a more complete development workflow.
The first step is to install NativeScript globally, follow these quick instructions and let’s continue.
Once that’s all set up, we’re now ready to use the NativeScript CLI and create a new project. My app is going to throw a little party for the user, so I’m going to call it party. In this app we are going to integrate a plugin, do some animations, and access some native iOS APIs.
tns create party --ng
In that command, we are creating an app named party, and instructing the CLI to use the angular template. Once thats created, we can run the app right away by opening up an iOS simulator and typing
tns run ios
That will open up our new native application in the iOS simulator. The basic template includes a main view with a ListView listing some soccer players. It also includes a detail view so you can get an example of routing to new views in NativeScript/Angular. NativeScript provides a bunch of useful templates, and also provides a GUI for their CLI called NativeScript Sidekick.
I typically use the CLI, but the GUI is good for browsing available templates for projects.
This app we are making is very simple so we won’t need any fancy templates. What I want to do with this app is brighten up your day with a little party on your phone.
Layouts
NativeScript provides a few different layouts to get started organizing your app. You can learn more from the official docs here. For this app, we are going to use GridLayout. GridLayout is great because it will adapt to the size of the device so your app will work the same on an iPad Pro or some tiny Android device. For this app we aren’t going to use an ActionBar, so we can remove the ActionBar from items.component.html, change the StackLayout over to a GridLayout and remove the list of soccer players, and lets add a Label so we can be sure we are seeing things correctly. Now our items.component.html file looks like this:
<GridLayout class="page">
  <Label text="Hello world."></Label>
</GridLayout>
Ok this works but doesn’t do much. Let’ at least make it look a little nicer. This is a party app, so let’s add a disco ball. I downloaded an image and brought it into App_Resources/iOS. We can use web images as src, but so this app can be offline we downloaded the image and brought it right into our project. For images in the App Resources folder, we refer to it with this syntax: res://imagename.png.
<GridLayout class="page">
  <Image src="res://disco.jpg"></Image>
  <Label color="white" text="Hello world."></Label>
</GridLayout>
One note on GridLayouts: Any view inside a GridLayout is assigned a column and a row. In this case we haven’t defined any, so every view inside the GridLayout is currently assigned to column 0 and row 0. So, since both the Image and the Label are occupying the same space in the GridLayout, they will be stacked on top of each other. So since the Label comes after the Image in the markup, the Label will show up on top of the Image. Let’s make the Label white so we can see it better: <Label color="white" text="Hello world."></Label>
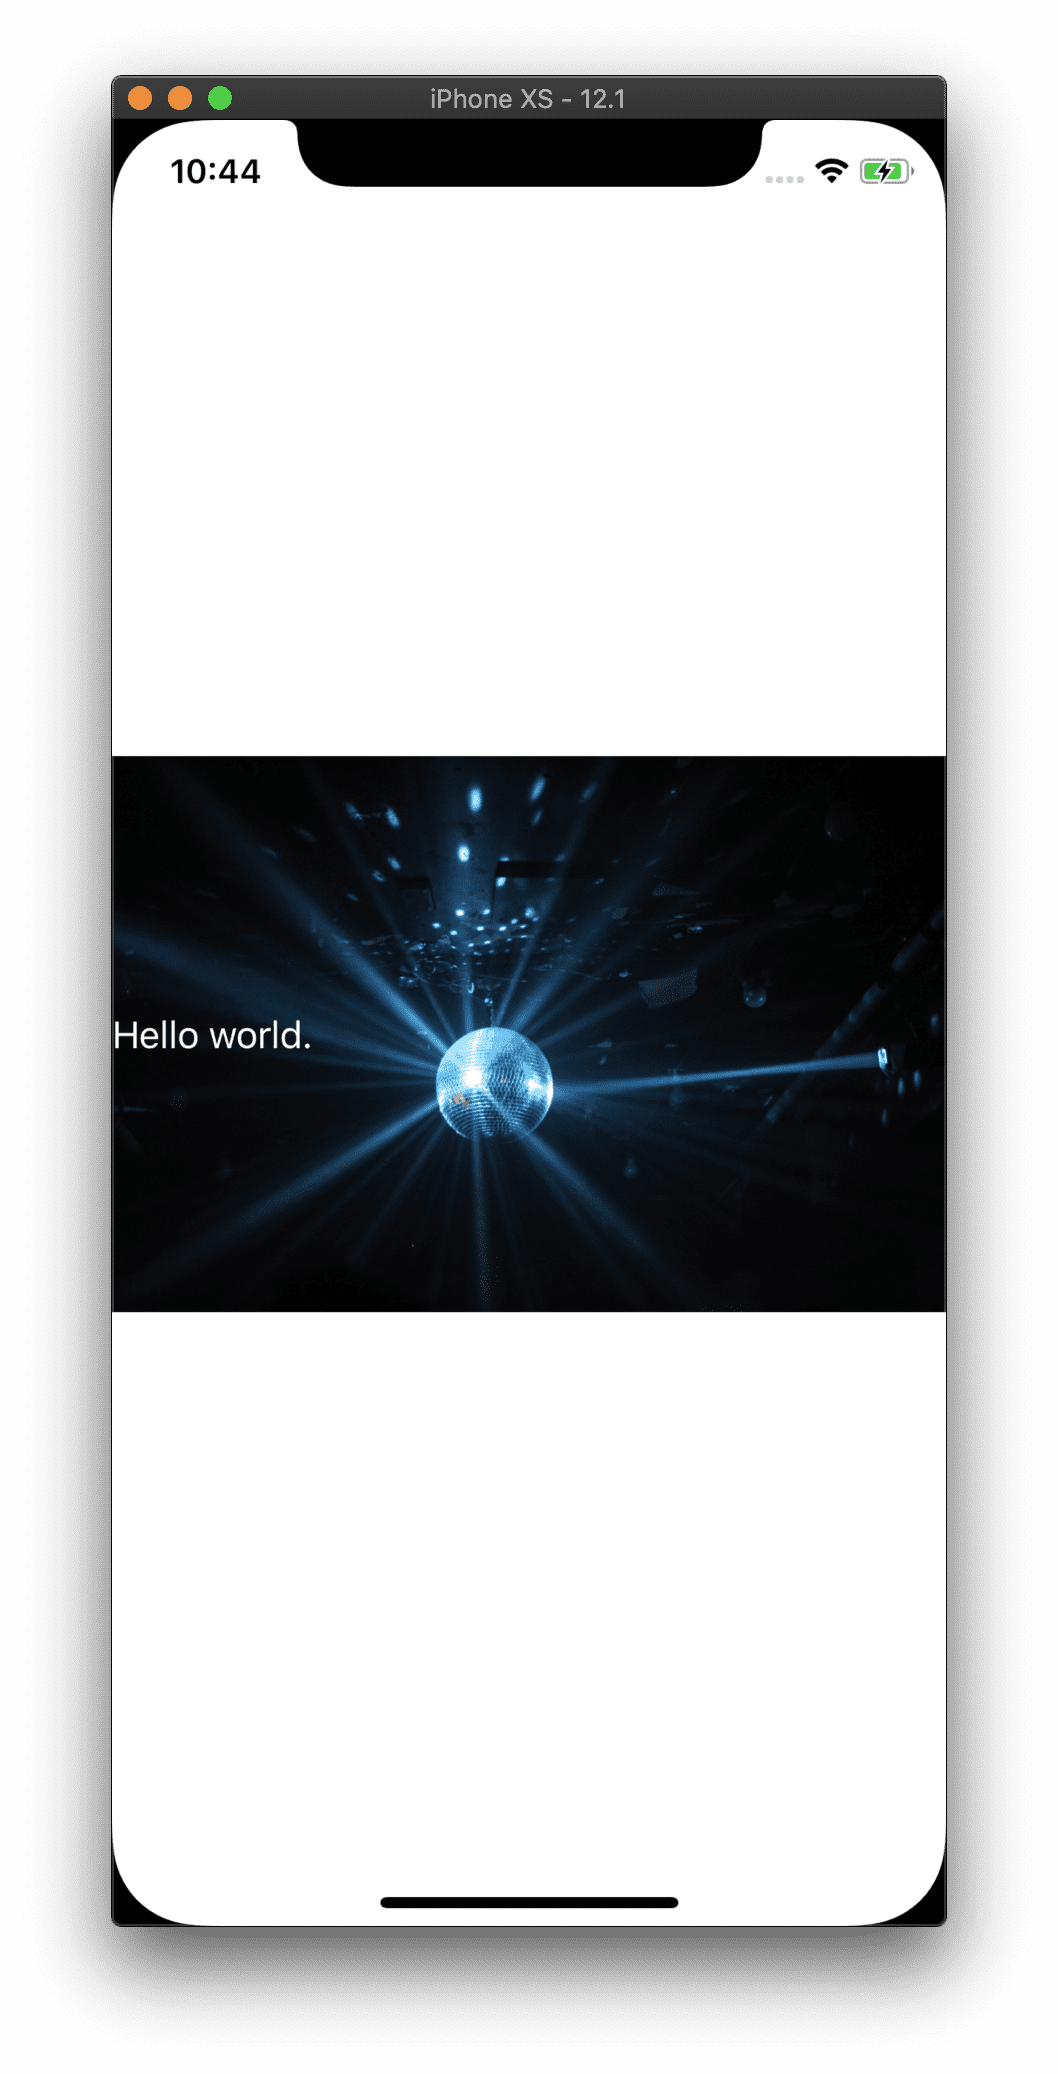
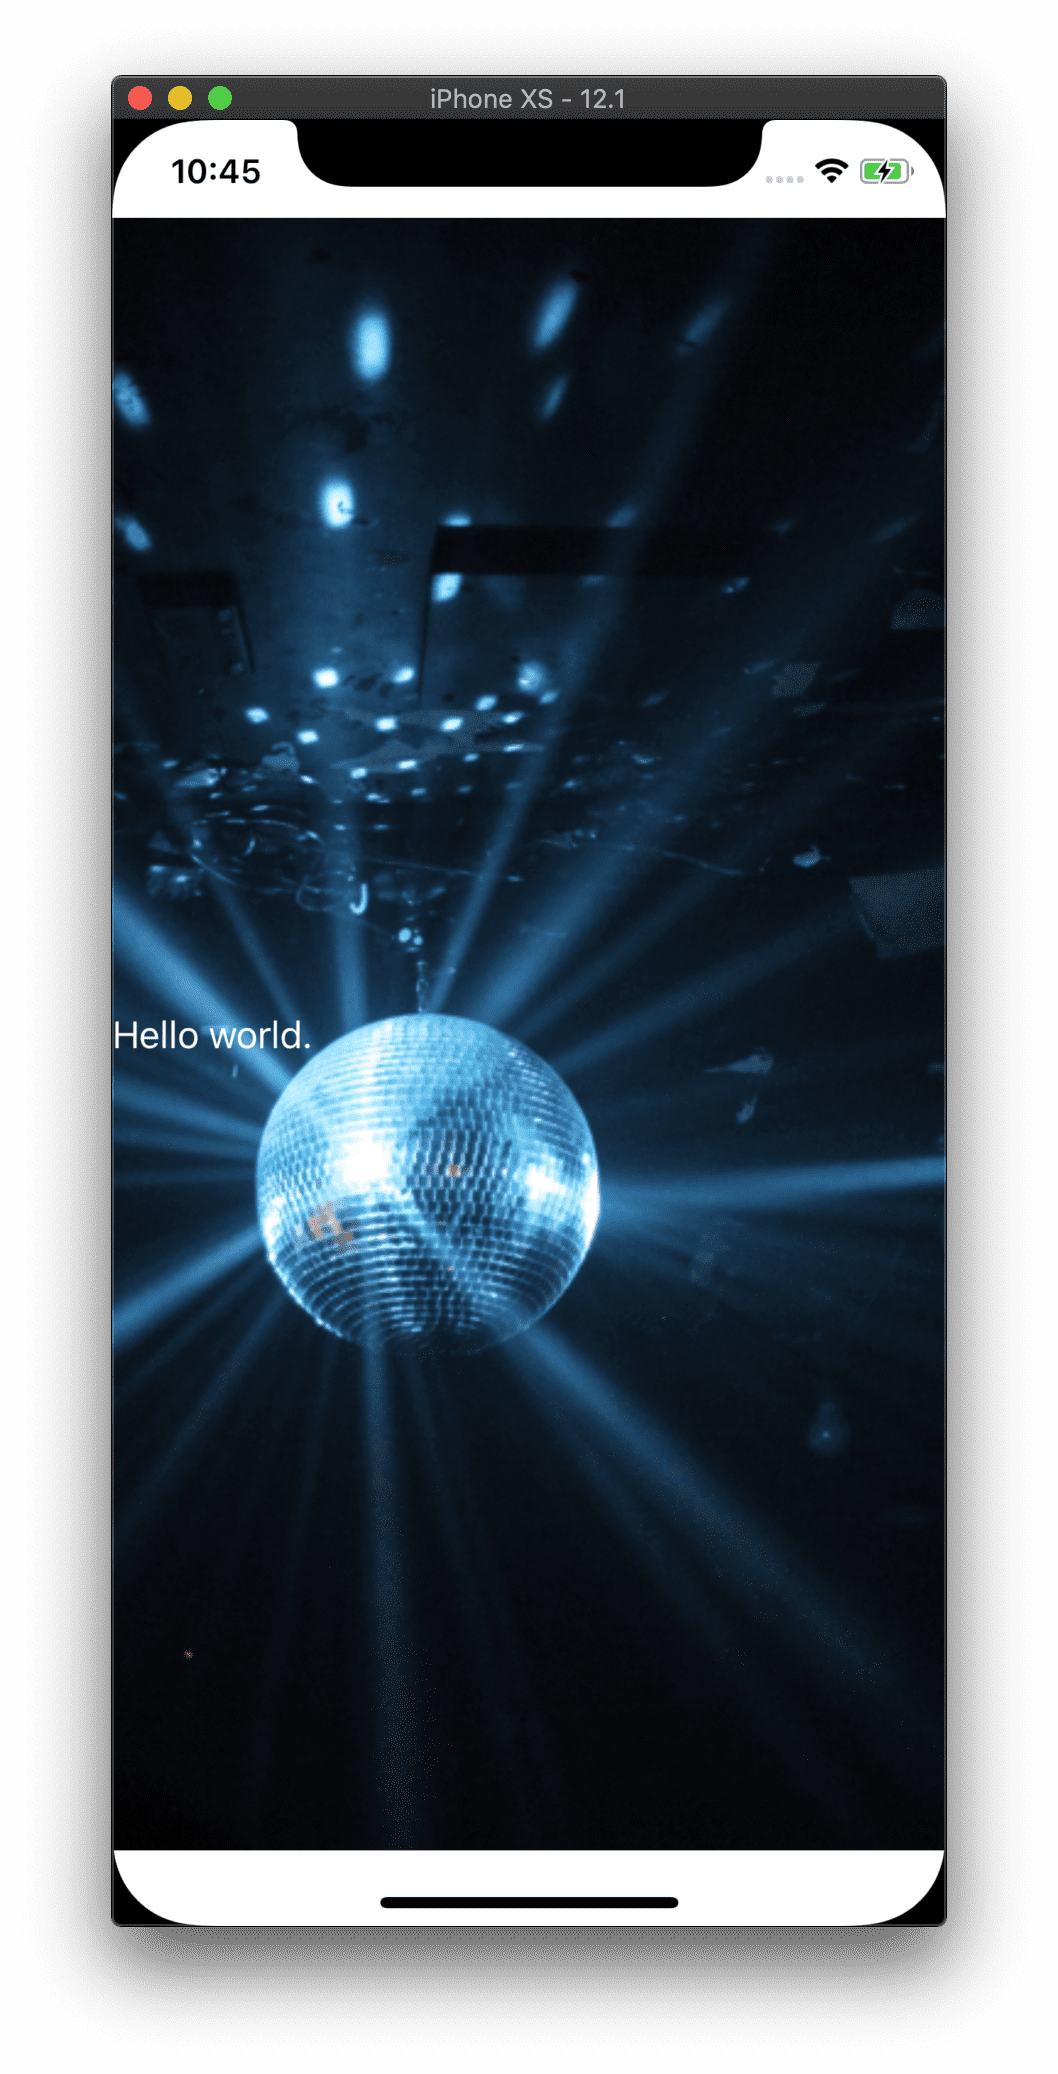
Ok this looks a little funny. What the image tries to do by default is display it at the size of its container (in this case the whole screen), but in its original aspect ratio. I want this image to be like a background image, so we can use the stretch property on the Image to get what we want:
<Image stretch="aspectFill" src="res://disco.jpg"></Image>
stretch="aspectFill" will fill the image to its container, but not stretch it out of its aspect ratio.
Ok definitely better. But those white bars at the top and bottom are ugly, let’s get rid of them. NativeScript 5 comes with some APIs that make working with iOS Safe Areas a breeze. Layouts are considered an element that should stretch to the edge of the screen. We can see this if we for example add a green background to the GridLayout, the white bars become green. Content, however, are padded from the edges of the device so they don’t conflict with the rounded corners, the notch, or the status bar. Images are considered content. In this case, this image is not content that will conflict as we are using it as a background image, so we can tell NativeScript to extend the edges of this image to the edges of the device with the iosOverflowSafeArea property:
<Image iosOverflowSafeArea="true" stretch="aspectFill" src="res://disco.jpg"></Image>
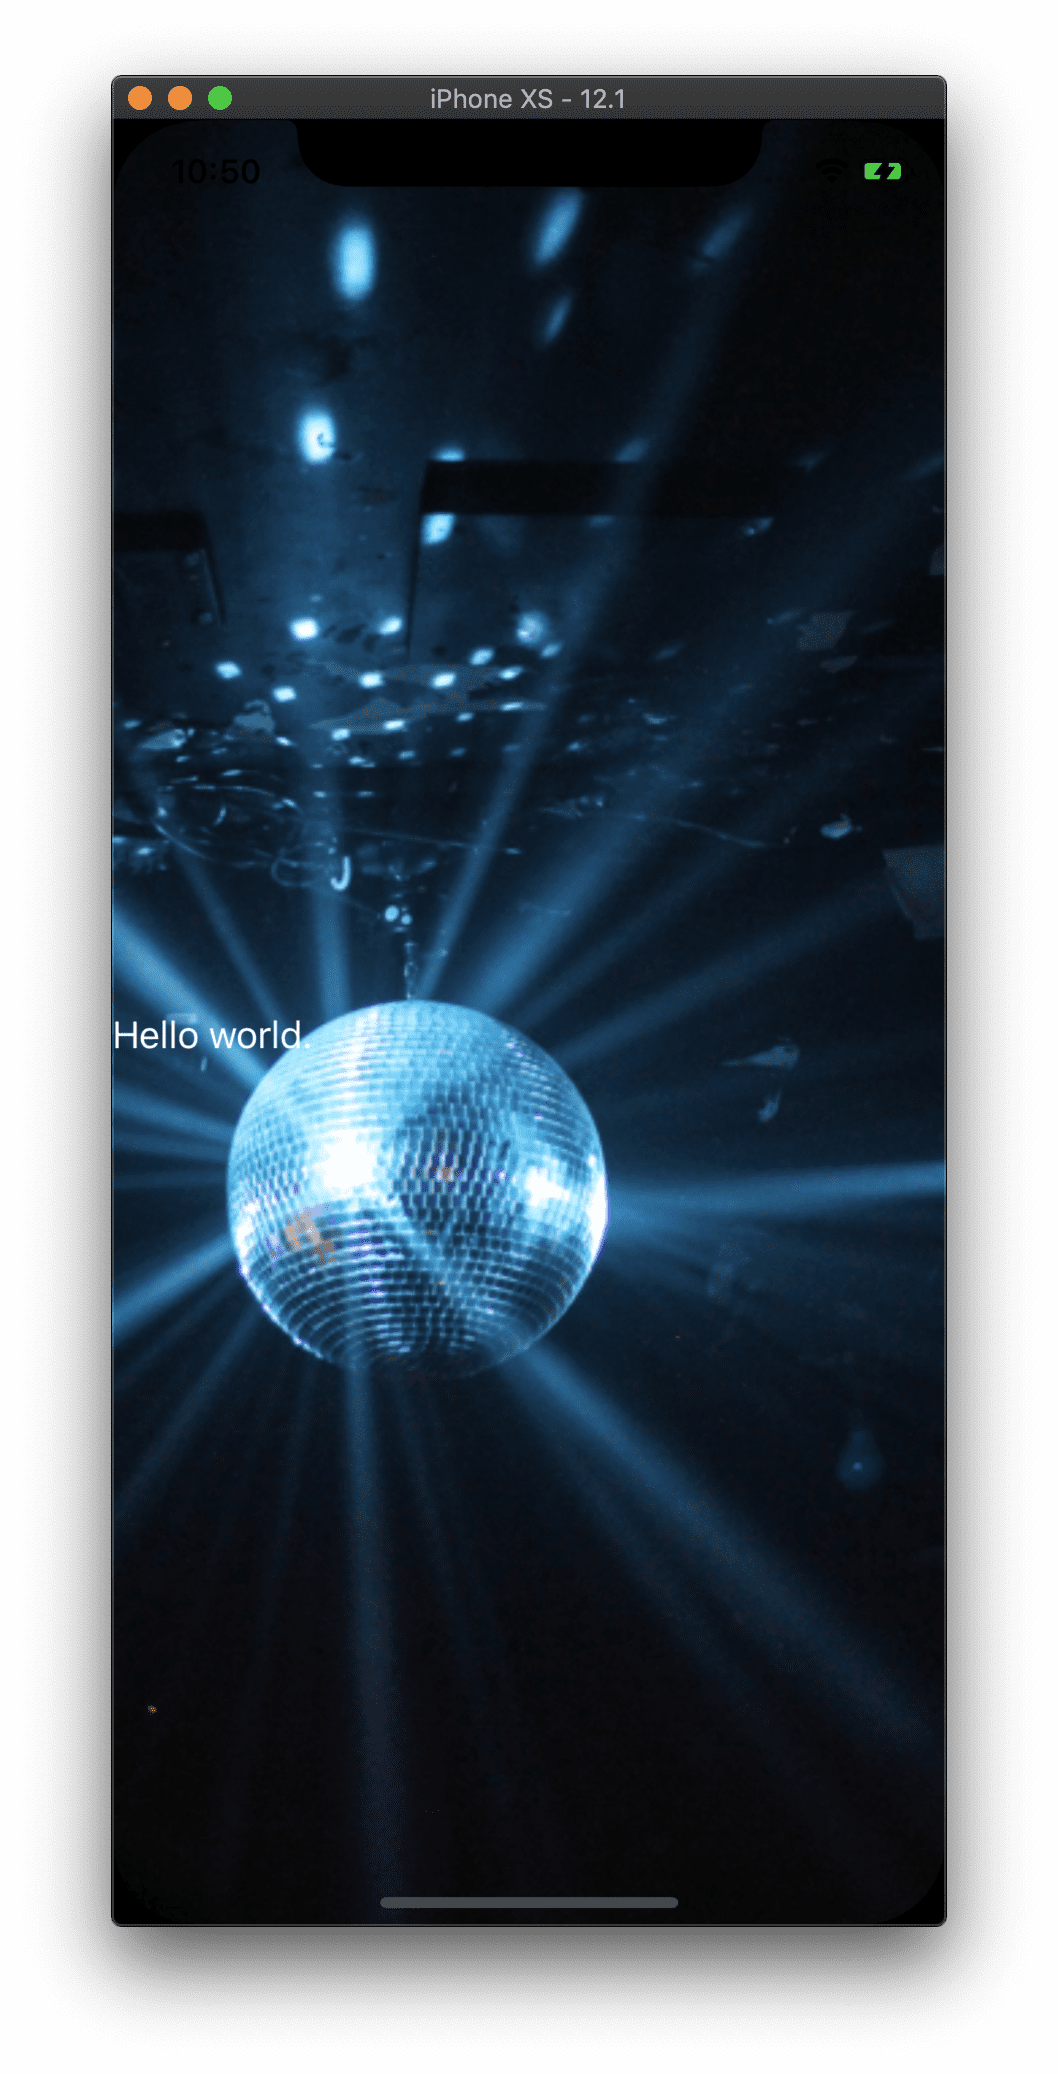
Much better!
Plugins
This is not a party without music. Let’s add a plugin.
NativeScript plugins are node packages that implement various cross platform functionality. For example, in order to access a device’s camera to take pictures or video, you would use the nativescript-camera plugin. There are all sorts of awesome NativeScript plugins out there, and you can browse them on npm.

Free eBook
Directives, simple right? Wrong! On the outside they look simple, but even skilled Angular devs haven’t grasped every concept in this eBook.
-
 Observables and Async Pipe
 - Identity Checking and Performance
- Web Components <ng-template> syntax
- <ng-container> and Observable Composition
- Advanced Rendering Patterns
- Setters and Getters for Styles and Class Bindings
We are going to use nativescript-audio to get the party started.
To install a plugin:
tns plugin add nativescript-audio
Then follow the plugin’s instructions to incorporate into your project. If you visit the plugin’s npm package page or the Github page, the instructions are in the readme.
We can literally copy the exact code into our items.component.ts file. The example includes some useful logging for debugging and everything we need to play our audio file. I’ve placed the audio file in the app folder, so we reference the file in the initFromFile method. Here’s the whole TypeScript with the audio code all set up:
import { Component, OnInit } from "@angular/core";
import { TNSPlayer } from 'nativescript-audio';
@Component({
  selector: "ns-items",
  moduleId: module.id,
  templateUrl: "./items.component.html",
})
export class ItemsComponent implements OnInit {
  private _player: TNSPlayer;
  constructor() {
    this._player = new TNSPlayer();
    this._player.initFromFile({
      audioFile: '~/app/audio.mp3', // ~ = root directory
      loop: false,
      completeCallback: this._trackComplete.bind(this),
      errorCallback: this._trackError.bind(this)
    }).then(() => {
      this._player.getAudioTrackDuration().then(duration => {
        // iOS: duration is in seconds
        // Android: duration is in milliseconds
        console.log(`song duration:`, duration);
      });
    });
  }

  ngOnInit(): void {}

  public togglePlay() {
    if (this._player.isAudioPlaying()) {
      this._player.pause();
    } else {
      this._player.play();
    }
  }

  private _trackComplete(args: any) {
    console.log('reference back to player:', args.player);
    console.log('whether song play completed successfully:', args.flag);
  }

  private _trackError(args: any) {
    console.log('reference back to player:', args.player);
    console.log('the error:', args.error);
    console.log('extra info on the error:', args.extra);
  }
}
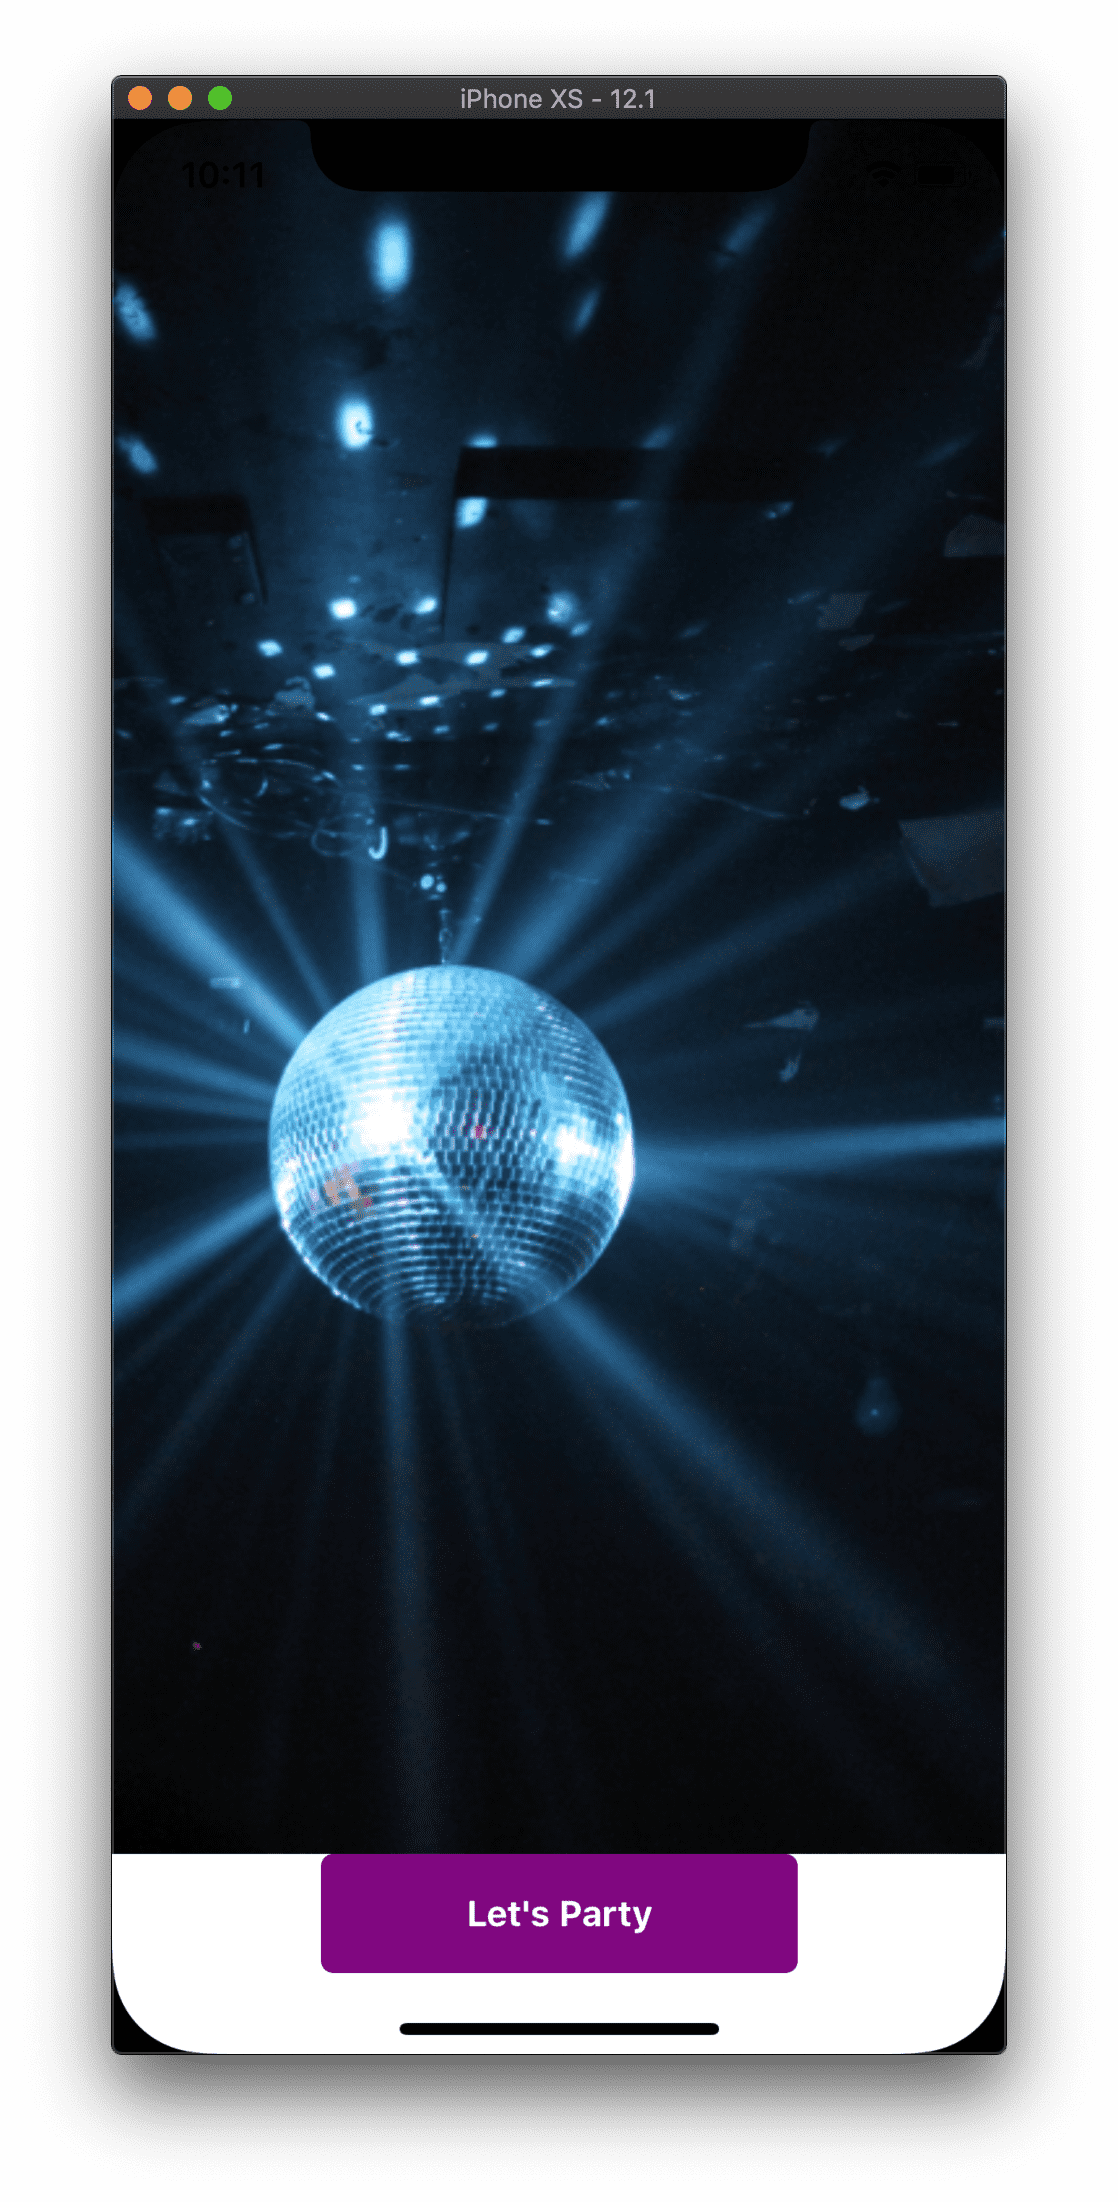
So we’ve got our audio setup, and now we just need some way to start this party. Let’s add a button to the html file to start the party:
<GridLayout class="page">
  <Image iosOverflowSafeArea="true" stretch="aspectFill" src="res://disco.jpg"></Image>
  <Button text="Let's Party" (tap)="togglePlay();" style="height: 50; width: 200; font-weight: bold; color: white; text-align: center; background-color: purple; padding: 10; border-radius: 5;">
  </Button>
</GridLayout>
Notice the new button there that calls the method in the class. I’ve added some inline styling just to keep things brief, but typically everything should be kept in app.css, or in scss files.
Before we move on, let’s organize our view a little different. I want the button at the bottom so its easy to press if you have a large device and are holding it with one hand. We can use the GridLayout properties for this. We can put content in a GridView in columns and rows. In this case we’re just going to have one column, but two rows. The top row which is most of the device, and then a row at the bottom just big enough for the button.
<GridLayout rows="*, auto">
That creates one row where * means it will use all available space for that row, and auto means the content within row #2 will determine how tall the row is. The first row is row 0, so we put the Button in row 1.
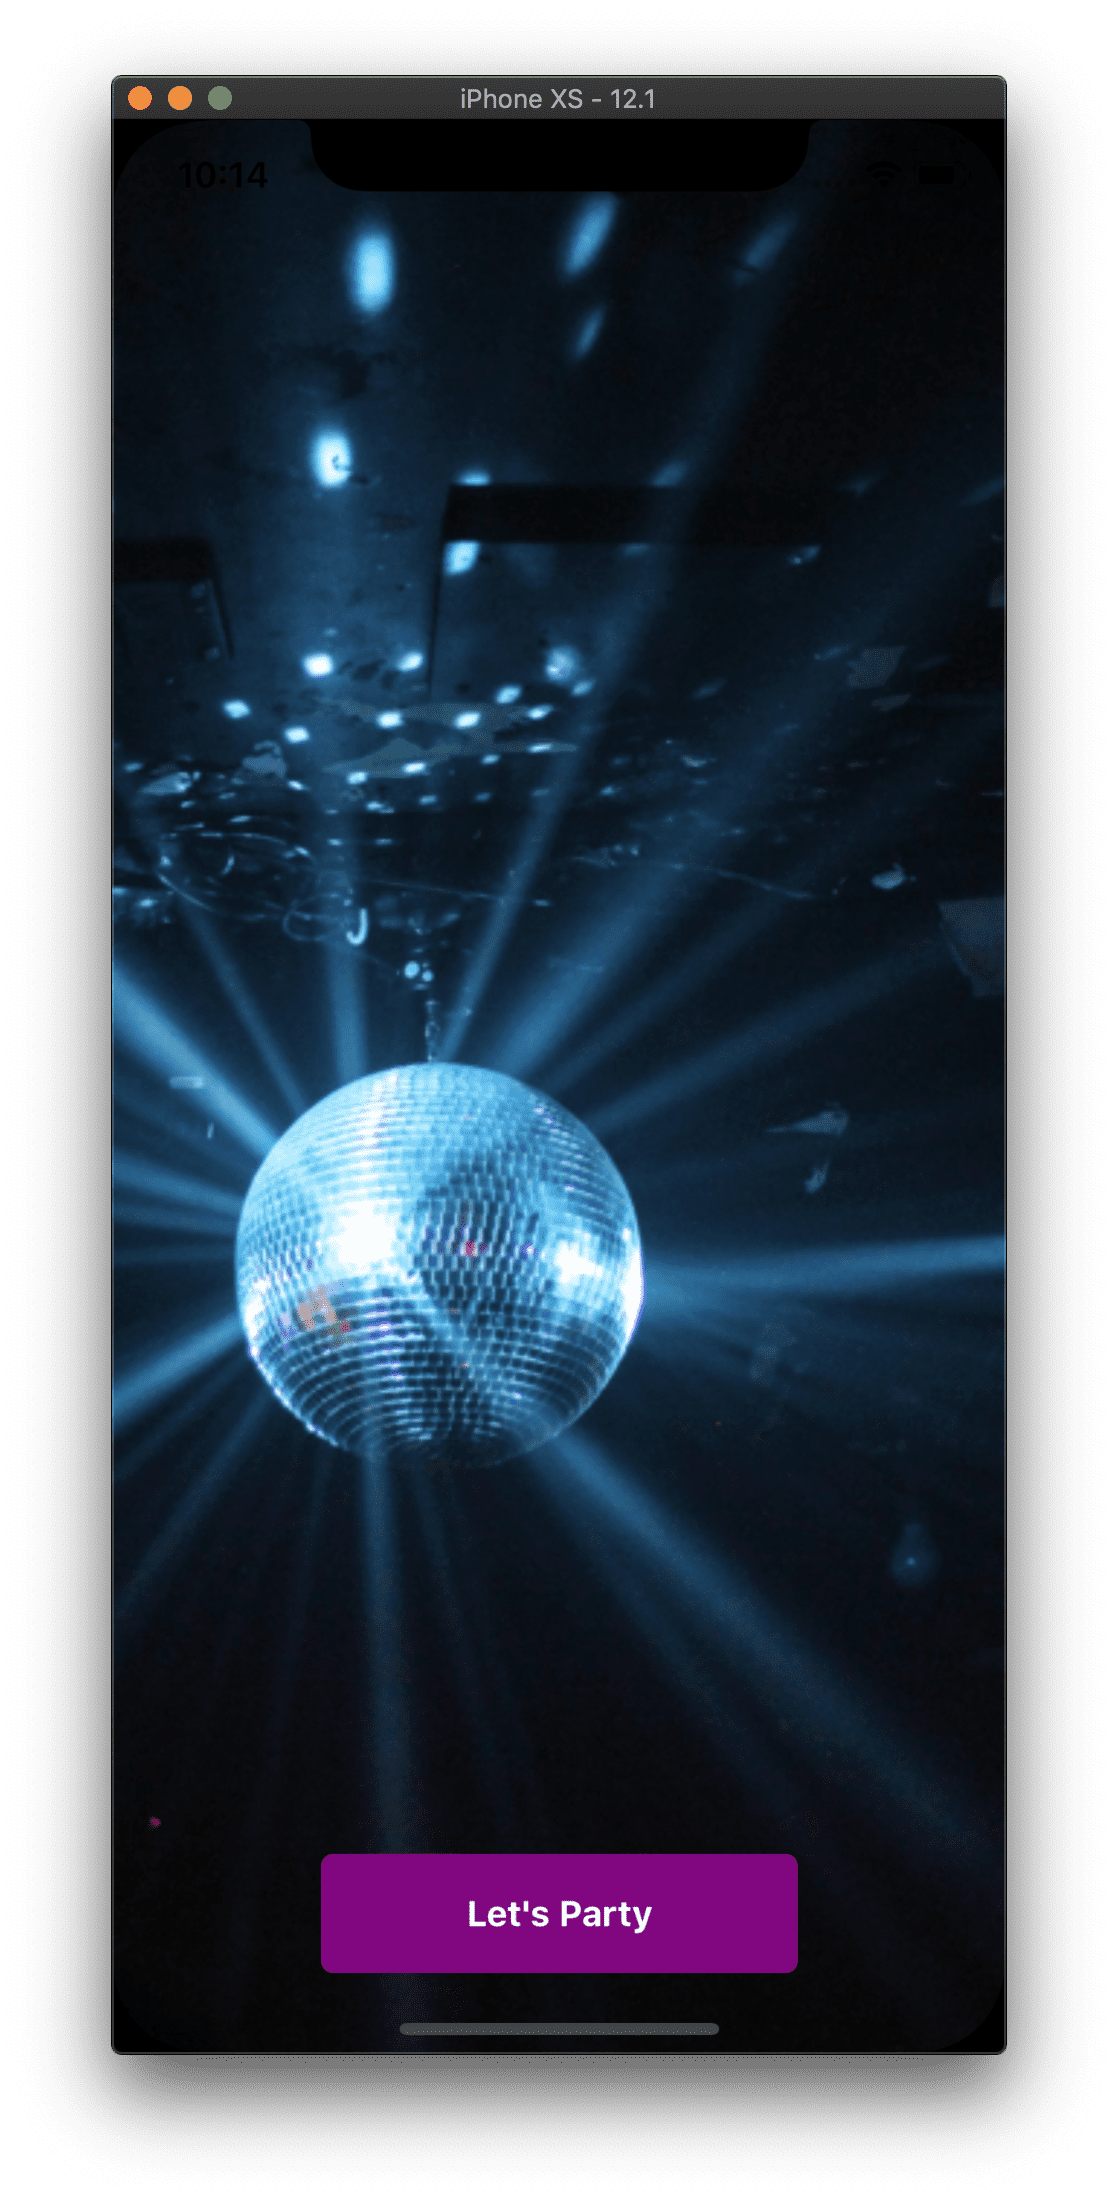
<GridLayout rows="*, auto" class="page">
  <Image iosOverflowSafeArea="true" stretch="aspectFill" src="res://disco.jpg"></Image>
  <Button row="1" text="Let's Party" (tap)="togglePlay();" style="height: 50; width: 200; font-weight: bold; color: white; text-align: center; background-color: purple; padding: 10; border-radius: 5;"></Button>
</GridLayout>
Ok cool, but I dont want it to be white behind the button. Whats happening is the Image is automatically being placed in row 0 since we didn’t specify a row. We want it to span across both rows, so we use rowSpan
<Image rowSpan="2" iosOverflowSafeArea="true" stretch="aspectFill" src="res://disco.jpg"></Image>
Animations
The music is cool, but let’s add some dancing. Animations are awesome and fun in NativeScript. Used correctly, they make apps more user-friendly and engaging. I brought an image into our app called animateimg.png. Let’s drop it into the top row and give it a size.
<GridLayout rows="*, auto" class="page">
  <Image iosOverflowSafeArea="true" stretch="aspectFill" src="res://disco.jpg"></Image>

  <Image #animateImg src="res://animateimg.png" width="50%"></Image>

  <Button row="1" text="Let's Party" (tap)="togglePlay();" style="height: 50; width: 200; font-weight: bold; color: white; text-align: center; background-color: purple; padding: 10; border-radius: 5;"></Button>
</GridLayout>
We’ll use ViewChild to grab the image and animate it.
@ViewChild('animateImg') animageImgEl: ElementRef;
public img;
then in ngOnInit:
ngOnInit(): void {
  this.img = this.animageImgEl.nativeElement;
}
Now we can animate this.img. I’ve added two methods to start the animation then stop it. I added the call to start the animation in our togglePlay method, as well as added a boolean to know if we’re partying so we can toggle the text in our button:
public togglePlay() {
  if (this._player.isAudioPlaying()) {
    this._player.pause();
    this.partying = false;
    this.stopAnimation();
  } else {
    this._player.play();
    this.partying = true;
    this.startAnimation();
  }
}

private animateInterval;
startAnimation() {
  this.animateInterval = setInterval(() => {
    this.img.animate({
      scale: {x: 2, y: 2},
      rotate: 45,
      duration: 270
    }).then(() => {
      this.img.animate({
        scale: {x: 1, y: 1},
        rotate: 0,
        duration: 270
      }).then(() => {}, err => {})
    }, err => {})
  }, 540)
}

stopAnimation() {
  clearInterval(this.animateInterval);
}
and we can update our button like this:
<Button
  row="1"
  [text]="partying ? 'I Need A Break' : 'Let\'s Party'"
  (tap)="togglePlay();"
  style="height: 50; width: 200; font-weight: bold; color: white; text-align: center; background-color: purple; padding: 10; border-radius: 5;">
</Button>
Bonus Exercise
The best thing about NativeScript is its unfettered access to native APIs. That means that when Google or Apple releases a new version of their mobile operating system, you have access to any fancy new features immediately. No waiting for the framework to expose them or even for the community to create a plugin, you can access platform specific APIs directly in your TypeScript code. It is truly amazing.
You can also get TypeScript definitions for all these APIs, meaning you get Intellisense for every available API on either platform. Run npm i tns-platform-declarations, that installs the declarations in your node_modules folder.
Then, create a file at your project root called references.d.ts with the following content:
/// <reference path="node_modules/tns-platform-declarations/android.d.ts" />
/// <reference path="node_modules/tns-platform-declarations/ios.d.ts" />
Now you can access these APIs right in your typescript file, for example you can type UISelectionFeedbackGenerator and the TypeScript compiler won’t complain!
This party stimulates your eyes and ears, but what about some haptic feedback? As of iOS 10, iOS provides some cool APIs for creating cool little buzzes on compatible devices. I use this in a lot of my apps, for example I have an app with a custom modal that you can drag to dismiss. If you drag it a tiny bit and let go, it will animate back to its open position, but if you drag it a little further, when you let go it will dismiss. This saves you having to reach for the close button. When you’ve dragged it far enough where it will dismiss if you let go, I give the phone a little buzz to let you know.
You’ll need to run this app on a physical device to feel this in action. Here’s what we’re going to add:
We need to import a couple helpers:
import { isIOS, device } from 'tns-core-modules/platform';
public buzz: UISelectionFeedbackGenerator;
then in ngOnInit:
if (isIOS && !(parseFloat(device.osVersion) < 10)) this.buzz = UISelectionFeedbackGenerator.new();
That checks if the device is an iOS device running iOS 10 or higher. Now we can call methods from that new native iOS UISelectionFeedbackGenerator class.
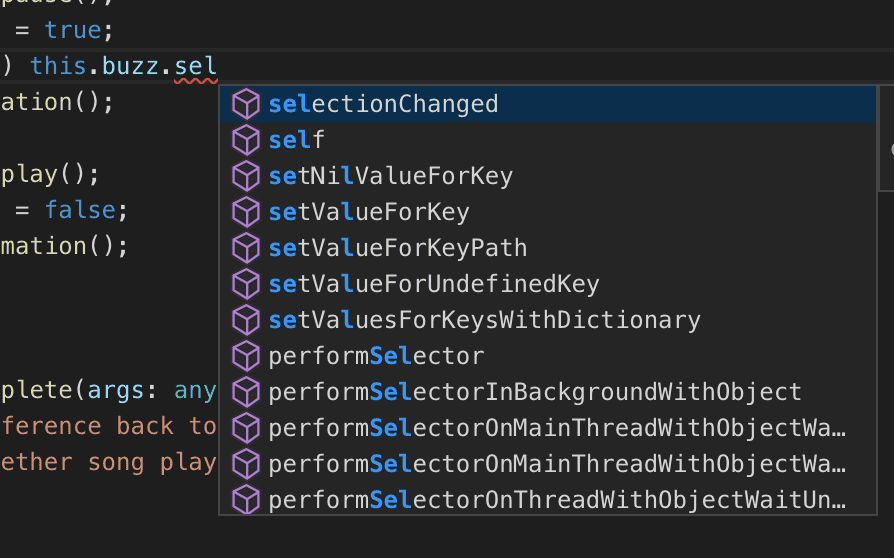
We can use Intellisense to see all available methods, but since most iOS classes extend NSObject, there are a ton of methods available so its hard to find which ones are specific to this class. So all we have to do is head over to Apple’s documentation.
You’ll notice there are a few classes to extend, we chose UISelectionFeedbackGenerator because its a tiny little buzz, we don’t want to freak your phone out. The method available on that class is selectionChanged(). This is the beauty of Intellisense, as we type, we can access to the class methods since we typed it correctly:
We are going to drop this in our animation method since its runs on an interval:
startAnimation() {
  this.animateInterval = setInterval(() => {
    if (this.buzz) this.buzz.selectionChanged()
    this.img.animate({
      scale: {x: 2, y: 2},
      rotate: 45,
      duration: 270
    }).then(() => {
      this.img.animate({
        scale: {x: 1, y: 1},
        rotate: 0,
        duration: 270
      }).then(() => {}, err => {})
    }, err => {})
  }, 540)
}
Okay, now we are technically ready to submit this to the App Store (but, they may not accept it because it does nothing useful and violates a bunch of copyright!). But we made it.
I recommend building this app before watching the final product, but if you must here’s our final app in all its glory.
Link to complete application’s Github Repo :)
Conclusion
This app is pretty silly but what we’ve learned here is far from. Using these principles you can create apps that can do anything. There are lots of great tools out there to help your development process, and NativeScript has a great community of developers ready and willing to help people who are new to the platform.

